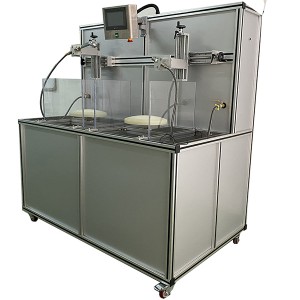
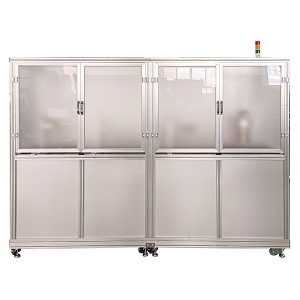
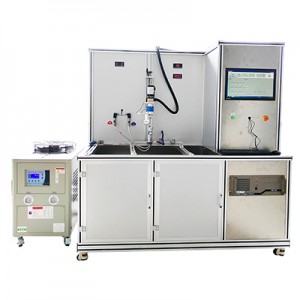
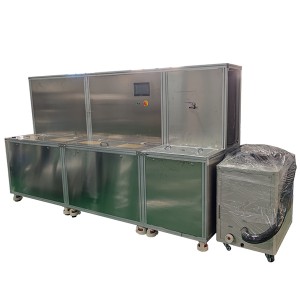
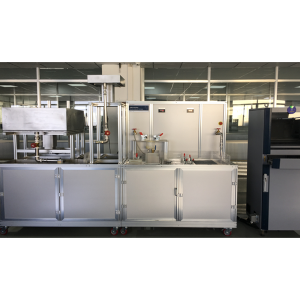
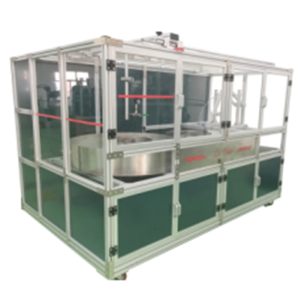
LT-JJ10-A Comprehensive testing machine for mechanical properties of office furniture
technical parameter
3.1. Load cell capacity: 0-500kg can be set arbitrarily
3.2. Load element accuracy: 1/1000
3.3. Test accuracy: Static: ± 1% Dynamic force: ± 5%
3.4. Electric cylinder and cylinder loading: Each cylinder is controlled by a separate electrical proportional valve. The cylinder requires an imported brand, and the electrical proportional valve requires an imported brand.
3.5. Displacement stroke: 0-300mm, 0-500mm, 0-800mm can be selected and set.
3.6. Time for various actions: 0.01-30s can be set arbitrarily.
3.7. Test speed: 1-35 times/minute can be set arbitrarily.
3.8. Test times: can be set arbitrarily between 0-999999 times.
3.9. Power off memory: It has the functions of stop/power off memory and breakpoint detection shutdown. Stopping or cutting off power midway will automatically save the test results.
3.10. Shutdown method: Stop the machine and sound an alarm after reaching the test limit.
3.11. Sensor: Well known brand sensor.
3.12. The equipment has a fault self diagnosis system, which facilitates inspection and troubleshooting.
3.13. The basic framework adopts a modular construction of high-strength aluminum metal frame, and the bottom frame adopts a three-dimensional structure with stable structure.
3.14. Base: High strength industrial aluminum profile+national standard 45 steel, thickness ≥ 10mm, strong magnet fixed sample
3.15. The program screen can select Simplified Chinese, Traditional Chinese, English, and can be freely changed on the program settings page.
3.16. Computer+force sensor+encoder form force and displacement closed-loop control. Computer integrated control system, data acquisition multi-channel, control multiple channels, can simultaneously control multiple test axes, can independently set the action of a certain cylinder or motor, including single or multiple reciprocating tests, can set two pairs of coordinated actions, same direction and opposite direction reciprocating tests. Each channel needs to be operated through a reference synchronization time to ensure that actions stop simultaneously, while other channels can continue to work. Require a simple interface, complete functions, high-speed response, and easy operation. Accurate action and low failure rate.
3.17. It can achieve control of force and displacement speed, display displacement time, force time, force displacement, force displacement maximum and minimum life curves (the change curves of the maximum force value and maximum displacement value of each channel in each cycle), etc. No need for manual adjustment of force and displacement, displaying the displacement offset for each time, achieving intelligent integrated control.
3.18. The units of force can be selected as kgf, kN, N, tf, lbf.
3.19. The unit of displacement value can be selected as mm or in.
3.20. Each force and displacement sensor can be calibrated in 10 segments, or single segment calibration can be used.
3.21. The report can be output as Word, Excel, PDF documents, and data can be saved and exported. It can also be connected to a printer to print test results.
3.22. The instrument should adopt an electric lifting and lowering device, which can move freely left and right, front and back, and is convenient for injection.
3.23. Each cylinder can set its own operating steps, which include the selection of open-loop and closed-loop functions. Up to 150 running steps can be set.
3.24. Record the curve of each cylinder for each cycle, and when the test is stopped, the curve of any cycle can be viewed.
3.25. The test curve data will be recorded in the database. When the program does not run the test, it can call the database to display the curve data.
3.26. The computer software automatically controls the servo, and the display screen observes all force values and offset data.
3.27. Component requirements: Ball screws, linear guides, bearings, relays, cylinders, programming control modules, and electrical proportional valves must be imported components.
3.28. This comprehensive test achieves simultaneous linkage testing of eight cylinders.
3.29. Force and displacement can be set to display small numbers from 0 to 4.
3.30. The impact and drop in this comprehensive machine testing project should be implemented separately on a single machine, and should not be placed in the comprehensive machine. Impact and drop have an impact on the main frame.
Product Features
1. The horizontal/vertical movement of the crossbeam of the furniture mechanical performance comprehensive testing machine adopts pneumatic or electric, and the force value adjustment adopts Japanese SMC servo proportional valve (including other mechanical testing equipment)
2. According to the requirements of the testing project, configure sufficient fixtures, jigs, loading pads, loading modules, weights, sandbags, blocks, etc. The fixtures can be quickly disassembled and assembled, and have certain universality.
3. Beautiful and elegant appearance: Fully concealed wiring to prevent leakage during operation and any potential hazards of the power system.
4. The force sensor and digital force value display system respectively display the real-time force application status of each channel, and have the function of recording the maximum force value.
5. This machine can display various experimental data separately through real-time waveforms and numerical values.
6. Each experiment is unrelated, and different experiments are independent of each other. Adding new experiments or reducing a certain experiment does not affect the original experiment.
7. It can achieve unattended testing, with automatic stop function. If the workpiece is damaged (which can be detected by position sensing), the test will be automatically stopped and the test results will be automatically retained. Automatic intelligent alarm upon completion of abnormal situations and experiments.
8. Install automatic sensing test components such as solenoid valves, pressure regulating oil and water filters, and position sensors to check for damage and automatically stop testing.
9. The report is divided into single cylinder and combination tests, which can display curve graphs and the maximum and minimum forces and displacements for each test.
12. Use three indicator lights to achieve notification functions for testing completion, alarm, and during testing.
13. The program screen displays the test status of each cylinder and the test status of each combination with light signals.
14. Each cylinder has sensing for forward and reverse limits, providing judgment during open-loop testing. When using limit judgment, attention should be paid to issues such as excessive speed, overshoot, or inability to judge.


